Showing posts with label ssh. Show all posts

Thursday, January 3, 2019

Remote login Raspberry Pi using Windows 10 build-in SSH client

This post show how to login Raspberry Pi/Raspbian from Windows 10 using the build-in OpenSSH client.


With OpenSSH Client installed by default in Windows 10 April 2018 Update, there should be no setup needed in Windows side. If you cannot run ssh client, scroll to bottom to check if OpenSSH client installed.

In Raspberry Pi/Raspbian side, you only need to enable Interface of SSH in Raspberry Pi Configuration.


This video show how to. The Raspbian desktop is the Raspberry Pi via VNC view. The Command Prompt is what we run in Windows side using build-in ssh client,


Check if OpenSSH Client installed in Windows 10.
Setting -> Apps ->


Select Apps & Features and Manage optional features


Check if OpenSSH Client included in the list.


If not, click the Add a features.


Sunday, April 12, 2015

Ubuntu MATE 15.04 for Raspberry Pi 2


It's Ubuntu MATE 15.04 for the Raspberry Pi 2, you can find more details and download link here: https://ubuntu-mate.community/t/ubuntu-mate-15-04-for-raspberry-pi-2/517.


This video show how to download and burn microSD on Ubuntu Linux.


And my first boot Ubuntu MATE 15.04 for Raspberry Pi 2:

The OS unresponsive at the first boot only. After sometime, it become more smooth.

I always run apt-get update and upgrade on Raspberry Pi/Raspbian. The first time it run more than 14 hrs to finish.
$ sudo apt-get update
$ sudo apt-get upgrade

This video below show remote login Ubuntu MATE 15.04 for Raspberry Pi 2 with ssh from PC running Ubuntu Linux. Then install xrdp on ubuntuMATE@RPi 2, and login xrdp using Remmina.


After installed, the microSD partition to have 4G only. I use Linux GUI program gparted to resize the file system.


Updated:
- Ubuntu MATE for the Raspberry Pi 2 officially

Updated@2014-04-26:
Download, install and boot-up Ubuntu MATE 16.04 on Raspberry Pi 3

Monday, November 25, 2013

SSH log-in Raspberry Pi emulator for Windows

To login Raspberry Pi emulator for Windows from ssh, you have to forward a port of host to the port 22 of emulator by adding option "-redir tcp:2222::22" in run.bat. Then you can ssh login Raspberry Pi Emulator via the 2222 port of your host ip (not emulator ip).

- Edit <unzipped directory>\qemu\qemu\run.bat

- add the option "-redir tcp:2222::22"

- Login SSH using <your host ip>:2222


Friday, November 8, 2013

Assign static local domain to Raspberry Pi

In my previous examples about ssh, vnc, I always have to check the IP address (192.168.xxx.xxx) of my Raspberry Pi locally with ifconfig, or login my router to look-up the connected IPs; because it will change dynamically. By assigning a static local domain to Raspberry Pi with avahi-daemon, I can use a local domain such as raspberrypi.local consistently.


Steps:

If you have computers running Apple’s OS X on your network, it already support it.
If you run on Windows, you have to install Bonjour Print Services for Windows.

In Raspberry Pi side, enter the command:
sudo apt-get install avahi-daemon
sudo insserv avahi-daemon

Create a configfile for Avahi at /etc/avahi/services/multiple.service, with the command:
sudo pico /etc/avahi/services/multiple.service

with content of:
<?xml version="1.0" standalone='no'?>
<!DOCTYPE service-group SYSTEM "avahi-service.dtd">
<service-group>
        <name replace-wildcards="yes">%h</name>
        <service>
                <type>_device-info._tcp</type>
                <port>0</port>
                <txt-record>model=local</txt-record>
        </service>
        <service>
                <type>_ssh._tcp</type>
                <port>22</port>
        </service>
</service-group>

then run the command:
sudo /etc/init.d/avahi-daemon restart

The local domain name of your Raspberry Pi will be <Raspberry Pi host name>.local, such as:
raspberrypi.local

After a moment, you can access Raspberry Pi with its new static domain.

Video demo:

reference:
http://elinux.org/RPi_Advanced_Setup

Remote shutdown/reboot Raspberry Pi from ssh

To remote shutdown Raspberry Pi from ssh, enter the command:
$ sudo halt
sudo halt
or:
$ sudo shutdown now
sudo shutdown now
To issue reboot after shutdown, enter the command:
sudo shutdown -r now

Saturday, November 2, 2013

Run PuTTY + Xming in Windows to login Raspberry Pi remotely via ssh, with GUI

To remote login Raspberry Pi from Windows, via ssh, with GUI, we can use PuTTY and Xming.
- Download PuTTY.
- Downlaod and install Xming.

To run PuTTY and Xming to login Raspberry Pi:

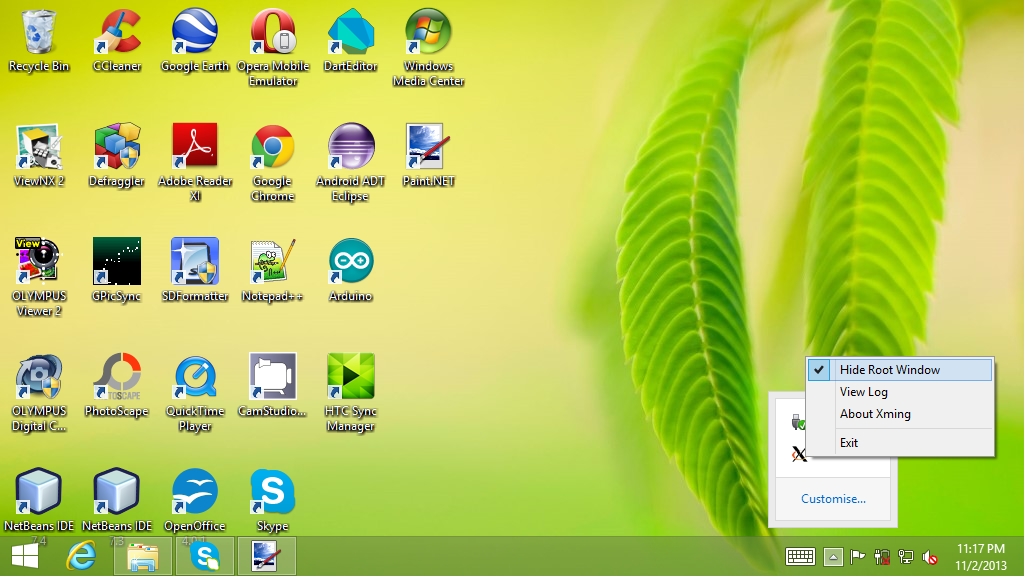
Run Xming, it will be display in Task bar of Windows.


Run PuTTY.
- Enter the IP address of host Raspberry Pi in Host name.


- In Connection > SSH > X11, check Enable X11 forwarding, and enter "localhost:0" in X display location. And click Open to connect Raspberry Pi.


This demo video show the details.


As shown in the video, we can also open two PuTTY to login Raspberry Pi in two windows.

Run PuTTY on Windows 8.1 to log-in Raspberry Pi SSH server

To login in Raspberry Pi SSH server from Windows, we can use PuTTY.

Visit http://www.putty.org/, follow the links to download binary putty.exe for Windows.


Enter host Raspberry Pi's IP (Read the post "Check my IP address of Raspberry Pi"), and click Open button.


Enter user name, pi, and password to start using ssh.


Related:
- Setup Raspberry Pi SSH server
- Remote login Raspberry Pi SSH server from Linux
Run PuTTY + Xming in Windows to login Raspberry Pi remotely via ssh, with GUI
Remote control Raspberry Pi from Windows 8.1 using VNC


Thursday, October 24, 2013

Remote login Raspberry Pi SSH server

Before you can login Raspberry Pi remotely, make sure you have setup and enable SSH server in your Raspberry Pi, and to know the IP address of your Raspberry Pi.

To login Raspberry Pi from a remote PC running Linux, enter the command in Terminal:

$ ssh <ip address> -l pi

or login with X-windows with -X option:

$ ssh -X <ip address> -l pi

example:
$ ssh 192.168.1.108 -l pi
$ ssh -X 192.168.1.108 -l pi

Setup Raspberry Pi SSH server

SSH Server should be enabled in default Raspberry Pi first time boot up and installation. If not, you can enable SSH server in "Raspberry Pi Software Configuration Tool", enter the command in LXTerminal:

$ sudo raspi-config

- Select Advanced Options

- Select SSH

- Enable SSH server

- OK

- Finish


Related:
- Remote login Raspberry Pi SSH server from Linux.
- Remote login Raspberry Pi SSH server from Windows.