pyGuiPwm.py
#for Python 2
#from Tkinter import *   #for Python 2
#from tkColorChooser import askcolor

#for Python 3
from tkinter import *
from tkinter.colorchooser import *

import platform
import RPi.GPIO as GPIO

r = 0;
g = 0;
b = 0;

def on_closing():
    print("Clean up")
    pwmledR.stop()
    pwmledG.stop()
    pwmledB.stop()
    GPIO.cleanup()
    print("bye")
    master.destroy()

def getColor():
    global r, g, b
    color = askcolor(color=(r, g, b))
    print(color)
    rgb = color[0]
    colorVal = color[1]
    if rgb != None:
        r = rgb[0]
        g = rgb[1]
        b = rgb[2]
        print("set RGB LED")
        rVal = r/255.0
        gVal = g/255.0
        bVal = b/255.0
        print((7, gVal, bVal))
        pwmValue.set(colorVal)
        pwmledR.ChangeDutyCycle(rVal)
        pwmledG.ChangeDutyCycle(gVal)
        pwmledB.ChangeDutyCycle(bVal)

#mode = GPIO.BCM
#ledR = 16
#ledG = 20
#ledB = 21

mode = GPIO.BOARD
ledR = 36
ledG = 38
ledB = 40

print("Raspberry Pi board revision: "
      + str(GPIO.RPI_INFO['P1_REVISION']))
print("Machine: "
      + platform.machine())
print("Processor: "
      + platform.processor())
print("System: "
      + platform.system())
print("Version: "
      + platform.version())
print("Uname: "
      + str(platform.uname()))
print("Python version: "
      + platform.python_version())
print("RPi.GPIO version: "
      + str(GPIO.VERSION))

GPIO.setmode(mode)
GPIO.setup(ledR, GPIO.OUT)
GPIO.setup(ledG, GPIO.OUT)
GPIO.setup(ledB, GPIO.OUT)
pwmledR = GPIO.PWM(ledR, 50)
pwmledG = GPIO.PWM(ledG, 50)
pwmledB = GPIO.PWM(ledB, 50)
pwmledR.start(0)
pwmledG.start(0)
pwmledB.start(0)

master = Tk()

pwmValue = StringVar()
label = Label(master, textvariable=pwmValue, relief=RAISED )
label.pack()

Button(text='Select Color', command=getColor).pack()

master.protocol("WM_DELETE_WINDOW", on_closing)
mainloop()
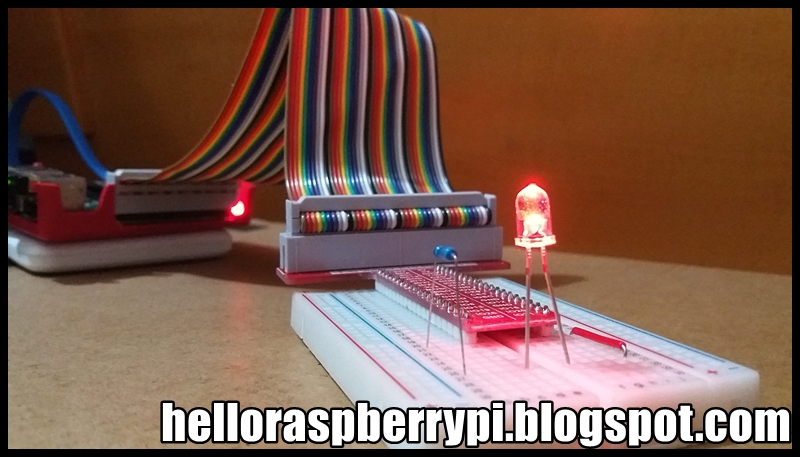
Connection: