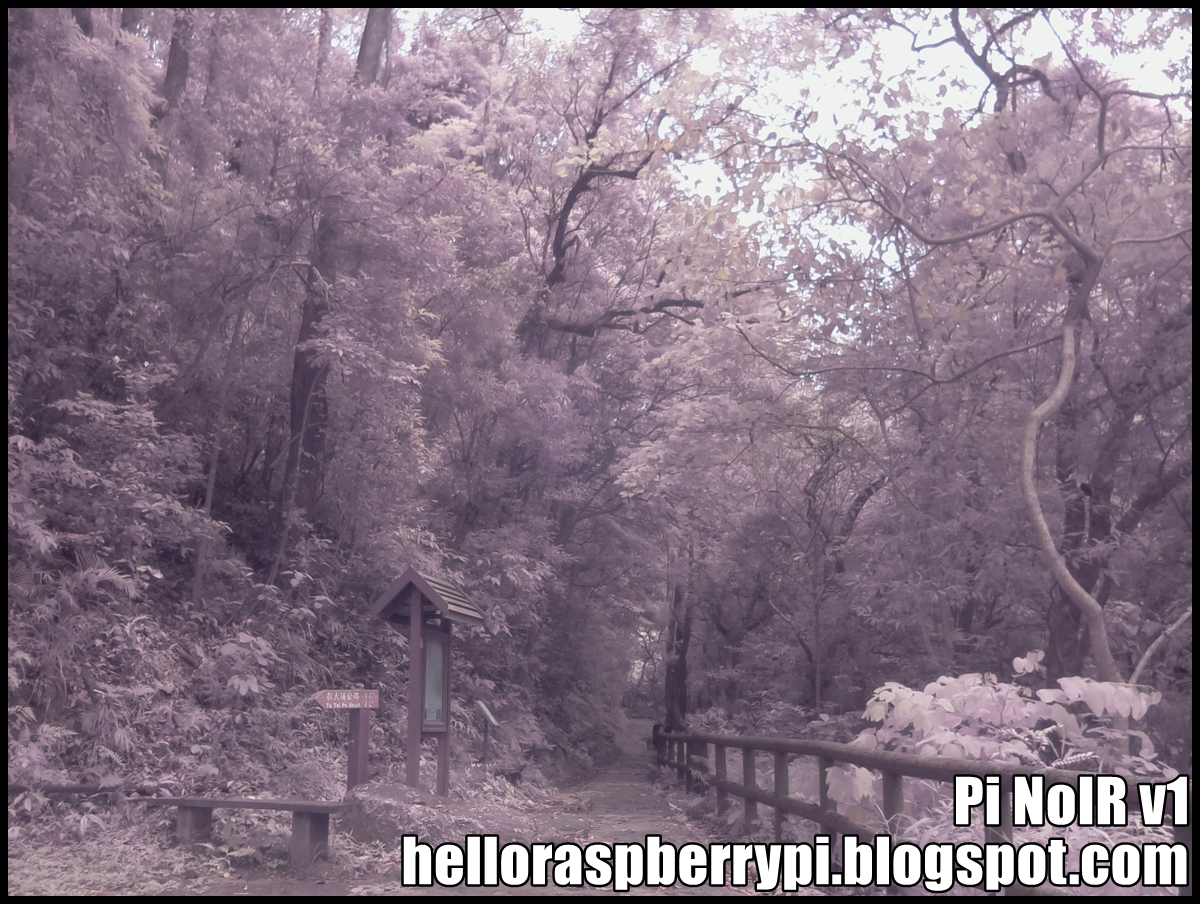
Sunday, May 29, 2016

Java Datagram/UDP Server and Client, run on raspberry Pi


A datagram is an independent, self-contained message sent over the network whose arrival, arrival time, and content are not guaranteed. It's simple exampls of Datagram/UDP Client and Server, modified from Java Tutorial - Writing a Datagram Client and Server.

It's assumed both server and client run on the same Raspberry Pi, so the IP is fixed "127.0.0.1", local loopback. And the port is arbitrarily chosen 4445.


In the Server side, JavaUdpServer.java, creates a DatagramSocket on port 4445. Wait for client connect, and reply with current date/time.
import java.io.IOException;
import java.net.DatagramPacket;
import java.net.DatagramSocket;
import java.net.InetAddress;
import java.util.Date;

/*
reference:
https://docs.oracle.com/javase/tutorial/networking/datagrams/clientServer.html
*/
public class JavaUdpServer {
    
    static UdpServerThread udpServerThread;

    public static void main(String[] args) throws IOException {
        System.out.println("Server start");
        System.out.println("Runtime Java: " 
                + System.getProperty("java.runtime.version"));
        
        
        new UdpServerThread().start();
    }

    private static class UdpServerThread extends Thread{
        
        final int serverport = 4445;
        
        protected DatagramSocket socket = null;
        
        public UdpServerThread() throws IOException {
            this("UdpServerThread");
        }
        
        public UdpServerThread(String name) throws IOException {
            super(name);
            socket = new DatagramSocket(serverport);
            System.out.println("JavaUdpServer run on: " + serverport);
        }

        @Override
        public void run() {
            
            while(true){
                
                try {
                    byte[] buf = new byte[256];
                    
                    // receive request
                    DatagramPacket packet = new DatagramPacket(buf, buf.length);
                    socket.receive(packet);
                    
                    String dString = new Date().toString();
                    buf = dString.getBytes();
                    
                    // send the response to the client at "address" and "port"
                    InetAddress address = packet.getAddress();
                    int port = packet.getPort();
                    System.out.println("Request from: " + address + ":" + port);
                    packet = new DatagramPacket(buf, buf.length, address, port);
                    socket.send(packet);
                    
                } catch (IOException ex) {
                    System.out.println(ex.toString());
                }
                
            }
            
        }
        
    }
    
}


In the client side, JavaUdpClient.java, sends a request to the Server, and waits for the response.
import java.io.IOException;
import java.net.DatagramPacket;
import java.net.DatagramSocket;
import java.net.InetAddress;
import java.net.SocketException;
import java.net.UnknownHostException;

/*
reference:
https://docs.oracle.com/javase/tutorial/networking/datagrams/clientServer.html
*/
public class JavaUdpClient {

    public static void main(String[] args) 
            throws UnknownHostException, SocketException, IOException {
        
        //Hardcode ip:port
        String ipLocalLoopback = "127.0.0.1";
        int serverport = 4445;
        
        
        System.out.println("Runtime Java: " 
                + System.getProperty("java.runtime.version"));
        System.out.println("JavaUdpClient running, connect to: " 
                + ipLocalLoopback + ":" + serverport);
        
        // get a datagram socket
        DatagramSocket socket = new DatagramSocket();
        
        // send request
        byte[] buf = new byte[256];
        InetAddress address = InetAddress.getByName(ipLocalLoopback);
        DatagramPacket packet = 
                new DatagramPacket(buf, buf.length, address, serverport);
        socket.send(packet);
        
        // get response
        packet = new DatagramPacket(buf, buf.length);
        socket.receive(packet);
        
        String received = new String(packet.getData(), 0, packet.getLength());
        System.out.println(received);
        
        socket.close();
    }
    
}


Related:
- Android version Datagram/UDP Client
Android version Datagram/UDP Server

Monday, May 23, 2016

Java Network exercise: client and server - client send something to server

Refer to my old post of "Java exercise - Implement client and server to communicate using Socket", setup bold server and client. The server reply something to client once connected.


It's modified, client connect to server and send something. In server side, wait connected and print the received text to screen.


host.java
import java.io.BufferedReader;
import java.net.ServerSocket;
import java.net.Socket;
import java.io.OutputStream;
import java.io.PrintStream;
import java.io.IOException;
import java.io.InputStreamReader;
import java.util.logging.Level;
import java.util.logging.Logger;

class host
{
    public static void main(String srgs[])
    {   
        ServerSocket serverSocket = null;
        Socket socket = null;
        BufferedReader bufferedReader = null;
        PrintStream printStream = null;
        
        try{
            serverSocket = new ServerSocket(0);
            System.out.println("I'm waiting here: " 
                + serverSocket.getLocalPort());            
                                
            socket = serverSocket.accept();
            System.out.println("from " + 
                socket.getInetAddress() + ":" + socket.getPort());
            
            InputStreamReader inputStreamReader = 
                new InputStreamReader(socket.getInputStream());
            bufferedReader = new BufferedReader(inputStreamReader);
            
            String line;
            while((line=bufferedReader.readLine()) != null){
                System.out.println(line);
            }
        }catch(IOException e){
            System.out.println(e.toString());
        }finally{
            if(bufferedReader!=null){
                try {
                    bufferedReader.close();
                } catch (IOException ex) {
                    System.out.print(ex.toString());
                }
            }
            
            if(printStream!=null){
                printStream.close();
            }
            
            if(socket!=null){
                try {
                    socket.close();
                } catch (IOException ex) {
                    System.out.print(ex.toString());
                }
            }
        }
    }
}


client.java
import java.io.ByteArrayOutputStream;
import java.io.IOException;
import java.io.InputStream;
import java.io.OutputStream;
import java.io.PrintStream;
import java.net.Socket;
import java.net.UnknownHostException;

public class client {

    public static void main(String args[])
    { 
        if(args.length != 2){
            System.out.println("usage: java client <port> <something>");
            System.exit(1);
        }
        
        int port = isParseInt(args[0]);
        if(port == -1){
            System.out.println("usage: java client <port> <something>");
            System.out.println("<port>: integer");
            System.exit(1);
        }
        
        try{
            //IP is hard coded, Local Loopback = "127.0.0.1"
            //port is user entry
            Socket socket = new Socket("127.0.0.1", port);

            
            //Send msg to server
            OutputStream outputStream = socket.getOutputStream();
            PrintStream printStream = new PrintStream(outputStream);
            printStream.print(args[1]);
                
            socket.close();

        }catch(UnknownHostException e){
            System.out.println(e.toString());
        }catch(IOException e){
            System.out.println(e.toString());
        }

    }
    
    private static int isParseInt(String str){
        
        int num = -1;
        try{
             num = Integer.parseInt(str);
        } catch (NumberFormatException e) {
        }
        
        return num;
    }
    
}


It's Android version of the Client.

Next:
- bi-direction communication, between echo server and client

Sunday, May 22, 2016

Sunday, May 15, 2016

Raspbian Jessie update release 2016-05-10

Raspbian Jessie update release 2016-05-10, DOWNLOAD HERE.

Release note:
2016-05-10:
  * New version of Scratch, which no longer requires sudo
  * New version of BlueJ
  * New version of NodeRED
  * New version of pypy
  * pigpio included
  * geany editor included
  * SD Card Copier added (can be used to duplicate or back up the Pi)
  * Bluetooth plugin added to taskbar
  * Volume control on taskbar now compatible with Bluetooth devices
  * New shutdown helper application
  * Mouse double-click speed setting added to mouse and keyboard preference application
  * Option to enable / disable 1-wire interface and remote access to pigpio added to Raspberry Pi config application
  * File system automatically expanded on first boot
  * Empty Wastebasket option added to right-click menu
  * Ctrl-Alt-T can be used to open a terminal window
  * Various small bug fixes and appearance tweaks
  * Updated firmware and kernel (https://github.com/raspberrypi/firmware/commit/cc6d7bf8b4c03a2a660ff9fdf4083fc165620866)

Saturday, May 14, 2016

Filter test on Pi NoIR v1: UV-IR CUT/Hoya R72 (and align focus for infrared)

Filter test on Pi NoIR v1 on Raspberry Pi 2 - UV-IR CUT/Hoya R72(720nm Infrared):


Focus alignment on Pi NoIR v1:
Compare with my old post of Pi NoIR v1 with IR filter:
Pi NoIR photo samples (without and with Hoya R72 filter)
Test Pi NoIR Camera Module with Infrared filter, 680nm vs 720nm
by Pi NoIR Camera Module + IR 680nm filter

It can be noted that the image become little bit blur (out focus) when using with IR filter. It's normal and reasonable because the lens cannot focus the whole range cover visible light and infrared. So I tried to align the focus to make IR image more clear.

(*Doing so have risk to damage the lens, so NOT recommended!)

The photos shown in this post taken after aligned.

The the following photos, the white marked on the lens indicate the original position and after aligned.

original position

aligned position


Related:
- Filter test on Pi NoIR Camera 2, IR 680nm, 720nm, 850nm, and UV-IR CUT

Friday, May 13, 2016

Raspberry Pi Model B+ Black Case Enclosure

Raspberry Pi - Model B+ Enclosure (Black)

The Raspberry Pi Model B+ is THE new favorite of development platforms, so the last thing that you'd want is for something bad to happen to it. Why not protect it with one of these snazzy plastic enclosures? These cases protect the B+ from things like rogue wires that might short it out while still allowing full access to the board as well as proper airflow to keep your new toy cool! Simply snap the RPi B+ into the bottom half of the enclosure, then snap the two sides together.

The enclosure provides slots to access the GPIO header, USB ports, Ethernet, microSD card, HMDI, 3.5mm jack, and CSI connectors as well as rubber feet and vents to ensure the board gets proper cooling and Pi Camera module mounting holes. All of the status LEDs on the Pi are visible through the case thanks to tunnel recesses embedded in the design and the two piece case can be taken apart without unplugging any cables. This is a really slick case and once you've gotten your hands on a Raspberry Pi, you'll want to snag one of these to put it in!

Note: This case does NOT include a Raspberry Pi Model B+.

Dimensions: 93.4mm x 62.7mm x 31.1mm